BASEMENT GUARDS
Generally, ground floor and basement windows are the best targets for a thief, although you should consider windows on upper floors if they can be accessed easily.
If there are any shrubs or trees in front of your windows, trim them so that an intruder can’t work undetected. Casement or awning-style windows generally provide a higher level of window security because of the hardware – a crank opener and secondary locks. The locking mechanism on double hung windows is also very difficult to defeat, while sliding windows offer the lowest level of window security. They can be pried open or completely removed by lifting them off the track. |
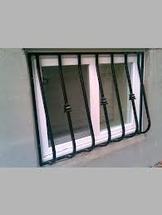
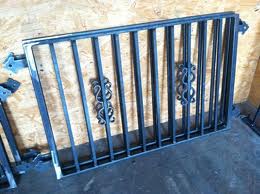
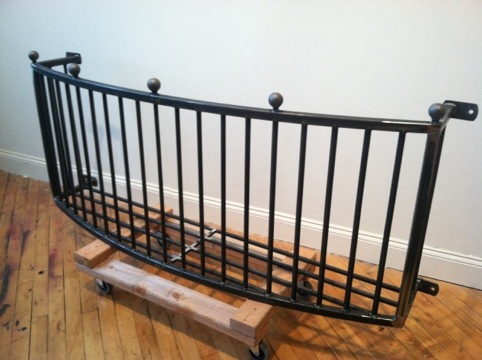
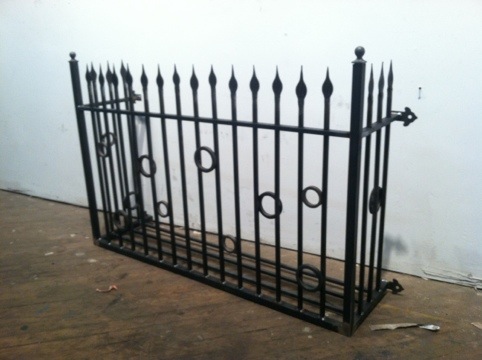
Restoring window guards
The problem is that they were very old and very rusty. The worst corrosion manifested itself at the bottom of the basement window guards, where they were closest to the ground. The ends of most of the horizontal bottom bars, which were mortared into the masonry wall, were completely rusted off, leaving the guards only anchored at the top.
I pulled all the guards out and put them into the scrap metal pile when we were replacing the brick around the bottom of the house. No more guards in the basement windows equaled less security and we felt the urgency to organize replacements.
We looked into complete new guards and even came up with our own design. That proved rather costly. A home improvement store offered off-the-shelf guards that would have fit our basement window sizes. They, however, where somewhat flimsy, looked tacky, and were obviously shipped in from China. We really wanted to keep our money more local.
I took another look at the scrap pile and began to wonder if the original guards could somehow be fixed up. That put me right into research mode.
I found a sandblasting place that would remove all the old crud off the bars. I looked at the guards with our friend UV, who is a metal working and installed the pipe columns. We decided that they could be restored, once they were cleaned.
This fits with our objective of maximizing reuse, allows us to spend our money locally, and lo and behold, turned out to be a rather economic option.
The guards came back spotless after the sandblasting and were handed right away to UV. We were lucky he was able to squeeze us into his schedule.
He fixed all the corroded ends on the horizontal bars by welding new L-brackets to them, through which I would anchor the guards back into the masonry wall. I picked up the restored and primed guards, which were now ready to be pained.
We opted for a color that resembles limestone and our new windows. It turned out to be a good pick.
The paint was barely dry when I got back to the house with sturdy masonry anchors. I put the hammer drill back to work, squeezed the socket wrench, touched up the paint and we were done.
It feels good to have that little bit of security back, just in time to get the heating and plumbing work started.
